A Guide to Preparing Seedlings for Spring Planting in the Blue Mountains
As the chilly grip of Winter slowly begins to loosen its hold, gardening folk of the Temperate Mountains enthusiasts find themselves eagerly anticipating the arrival of Spring. August marks the perfect time to kickstart your gardening journey by preparing seedlings indoors. With just a sunny windowsill or small greenhouse, and some careful attention, you can nurture a variety of seeds into healthy and robust plants, ready to thrive in your home garden space once the warmer days arrive and the soil warms up.
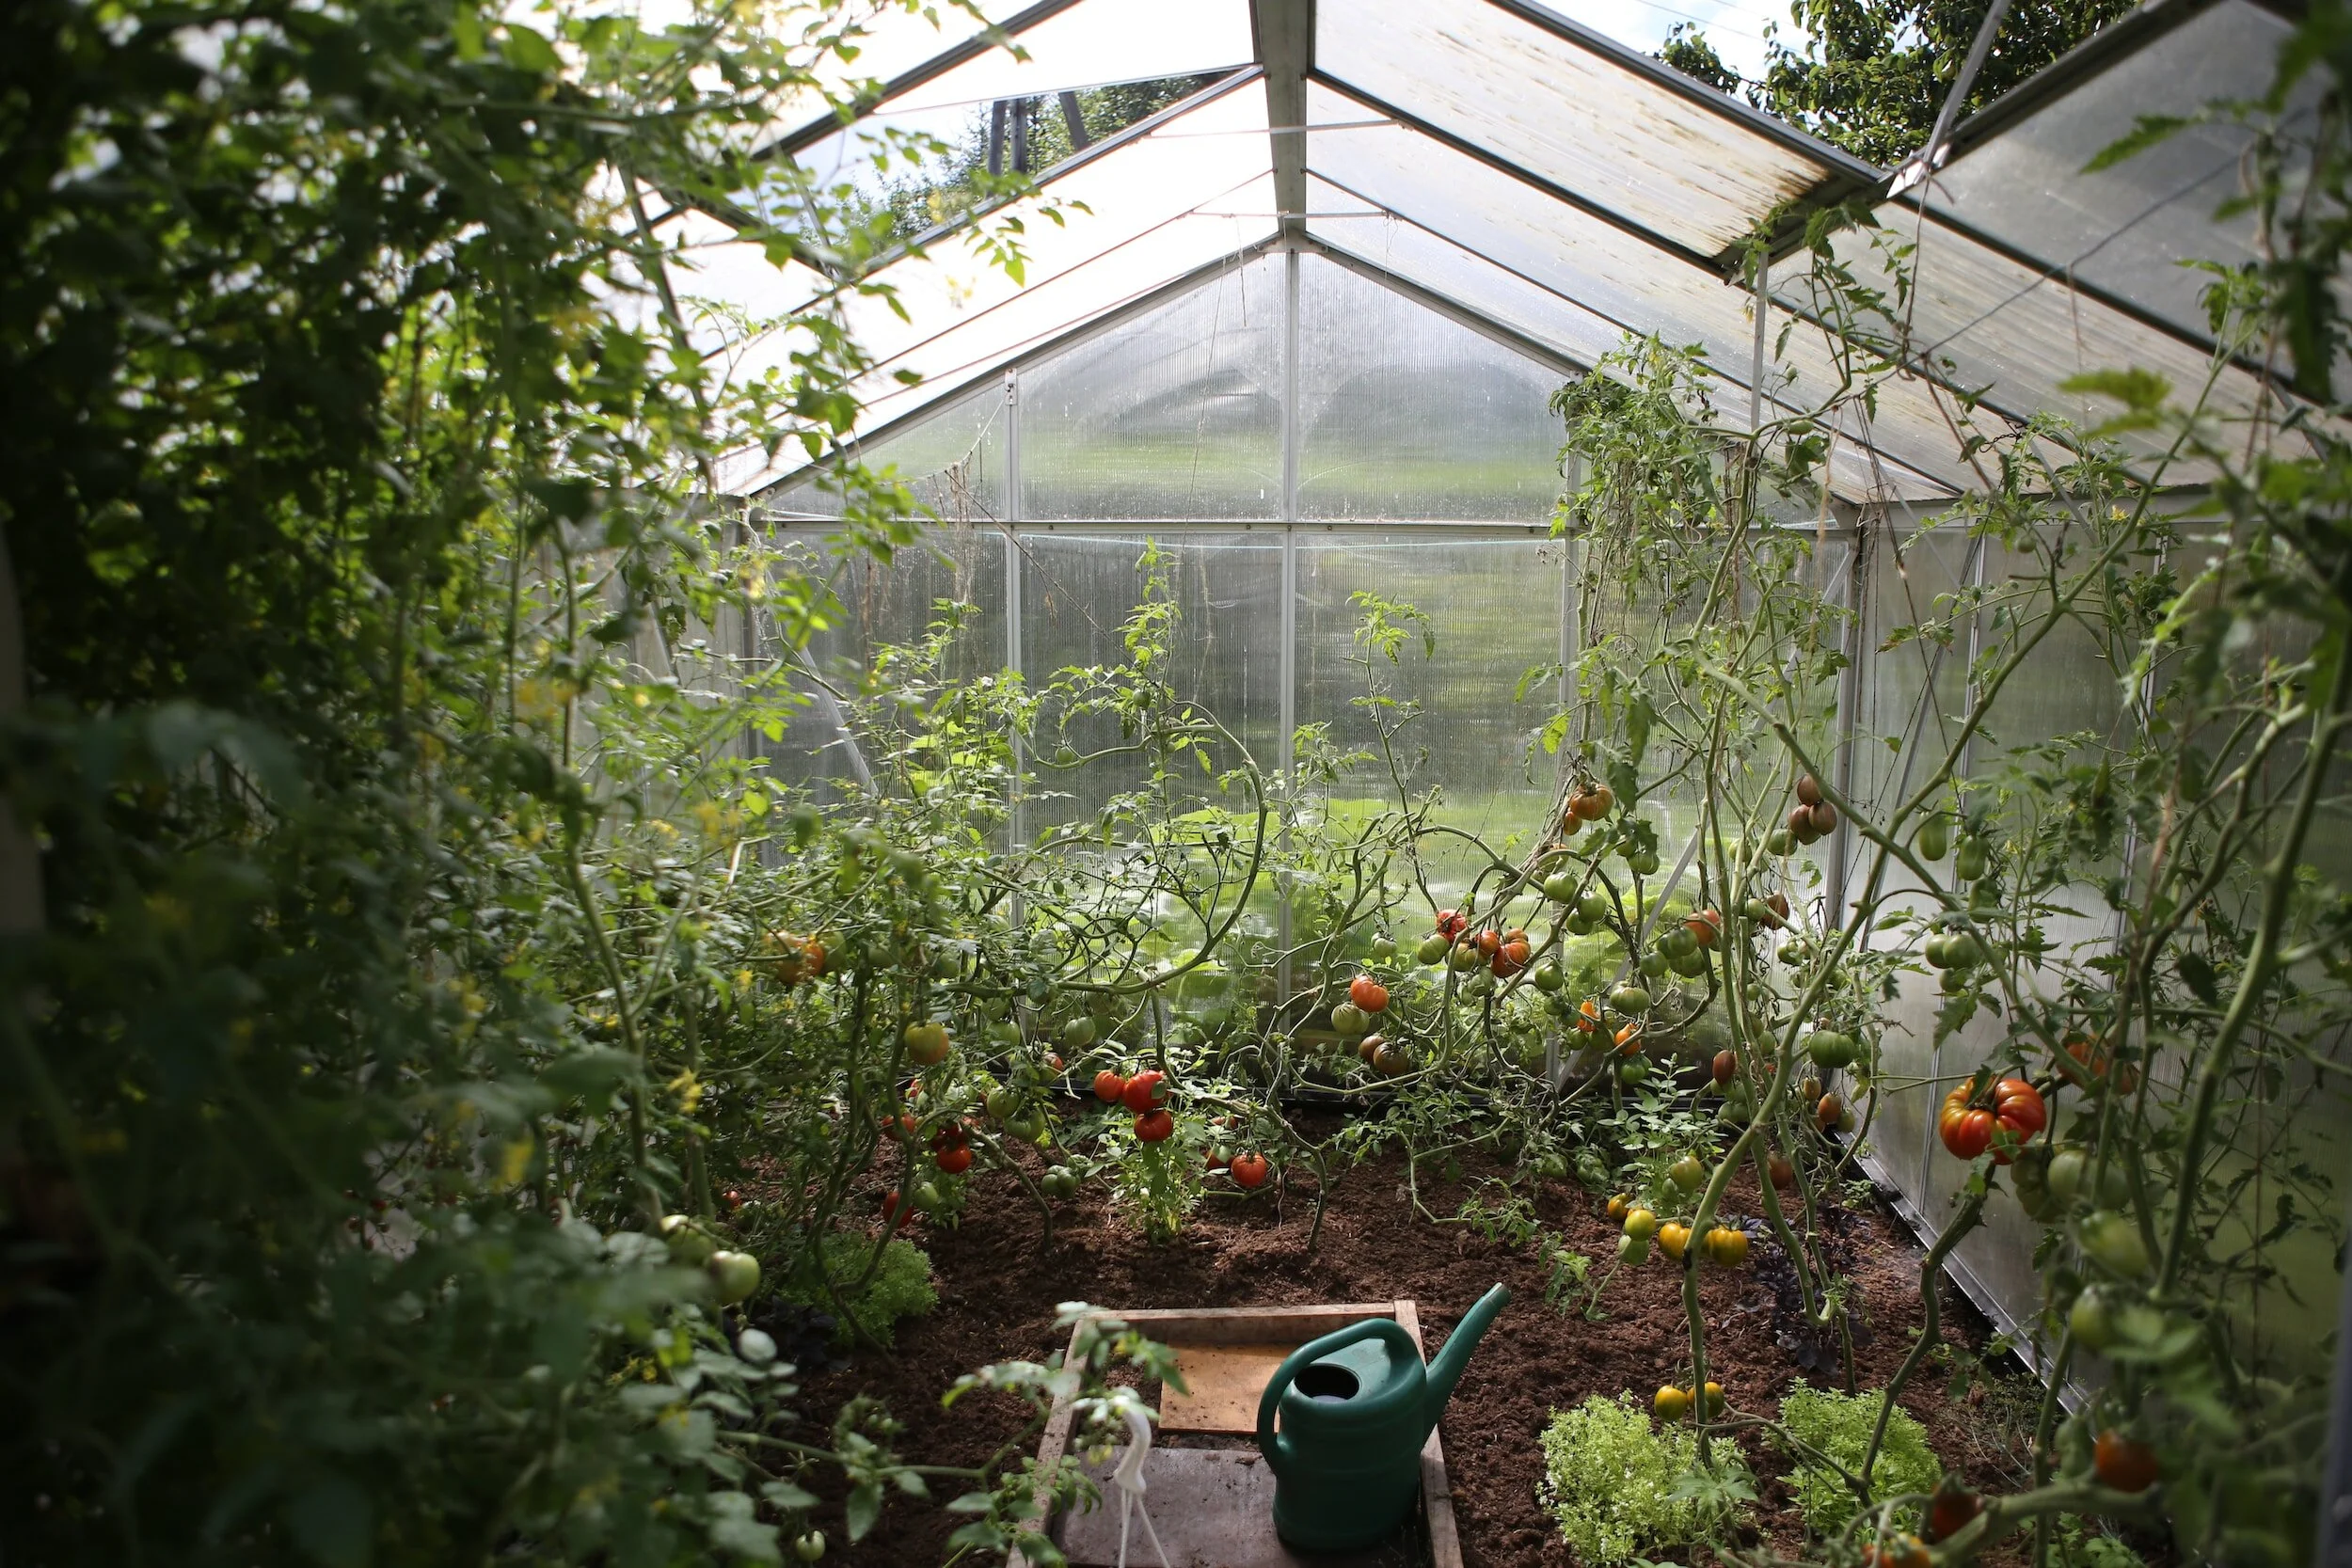
A protected grow pace to start your seedlings is a must! It doesn’t need to be this grand though, a windowsill is perfect fro a small home garden!
Choosing the Right Seeds:
Before you start get excited and sow a thousand old seedlings from the hardware store, it's essential to choose the right seeds that are suitable for spring planting in the YOUR AREA! Opt for seeds that can withstand the occasional late frost and cooler temperatures. Here's a list of seeds that are ideal for starting indoors during August for a temperate region like Sydney and The Blue Mountains:
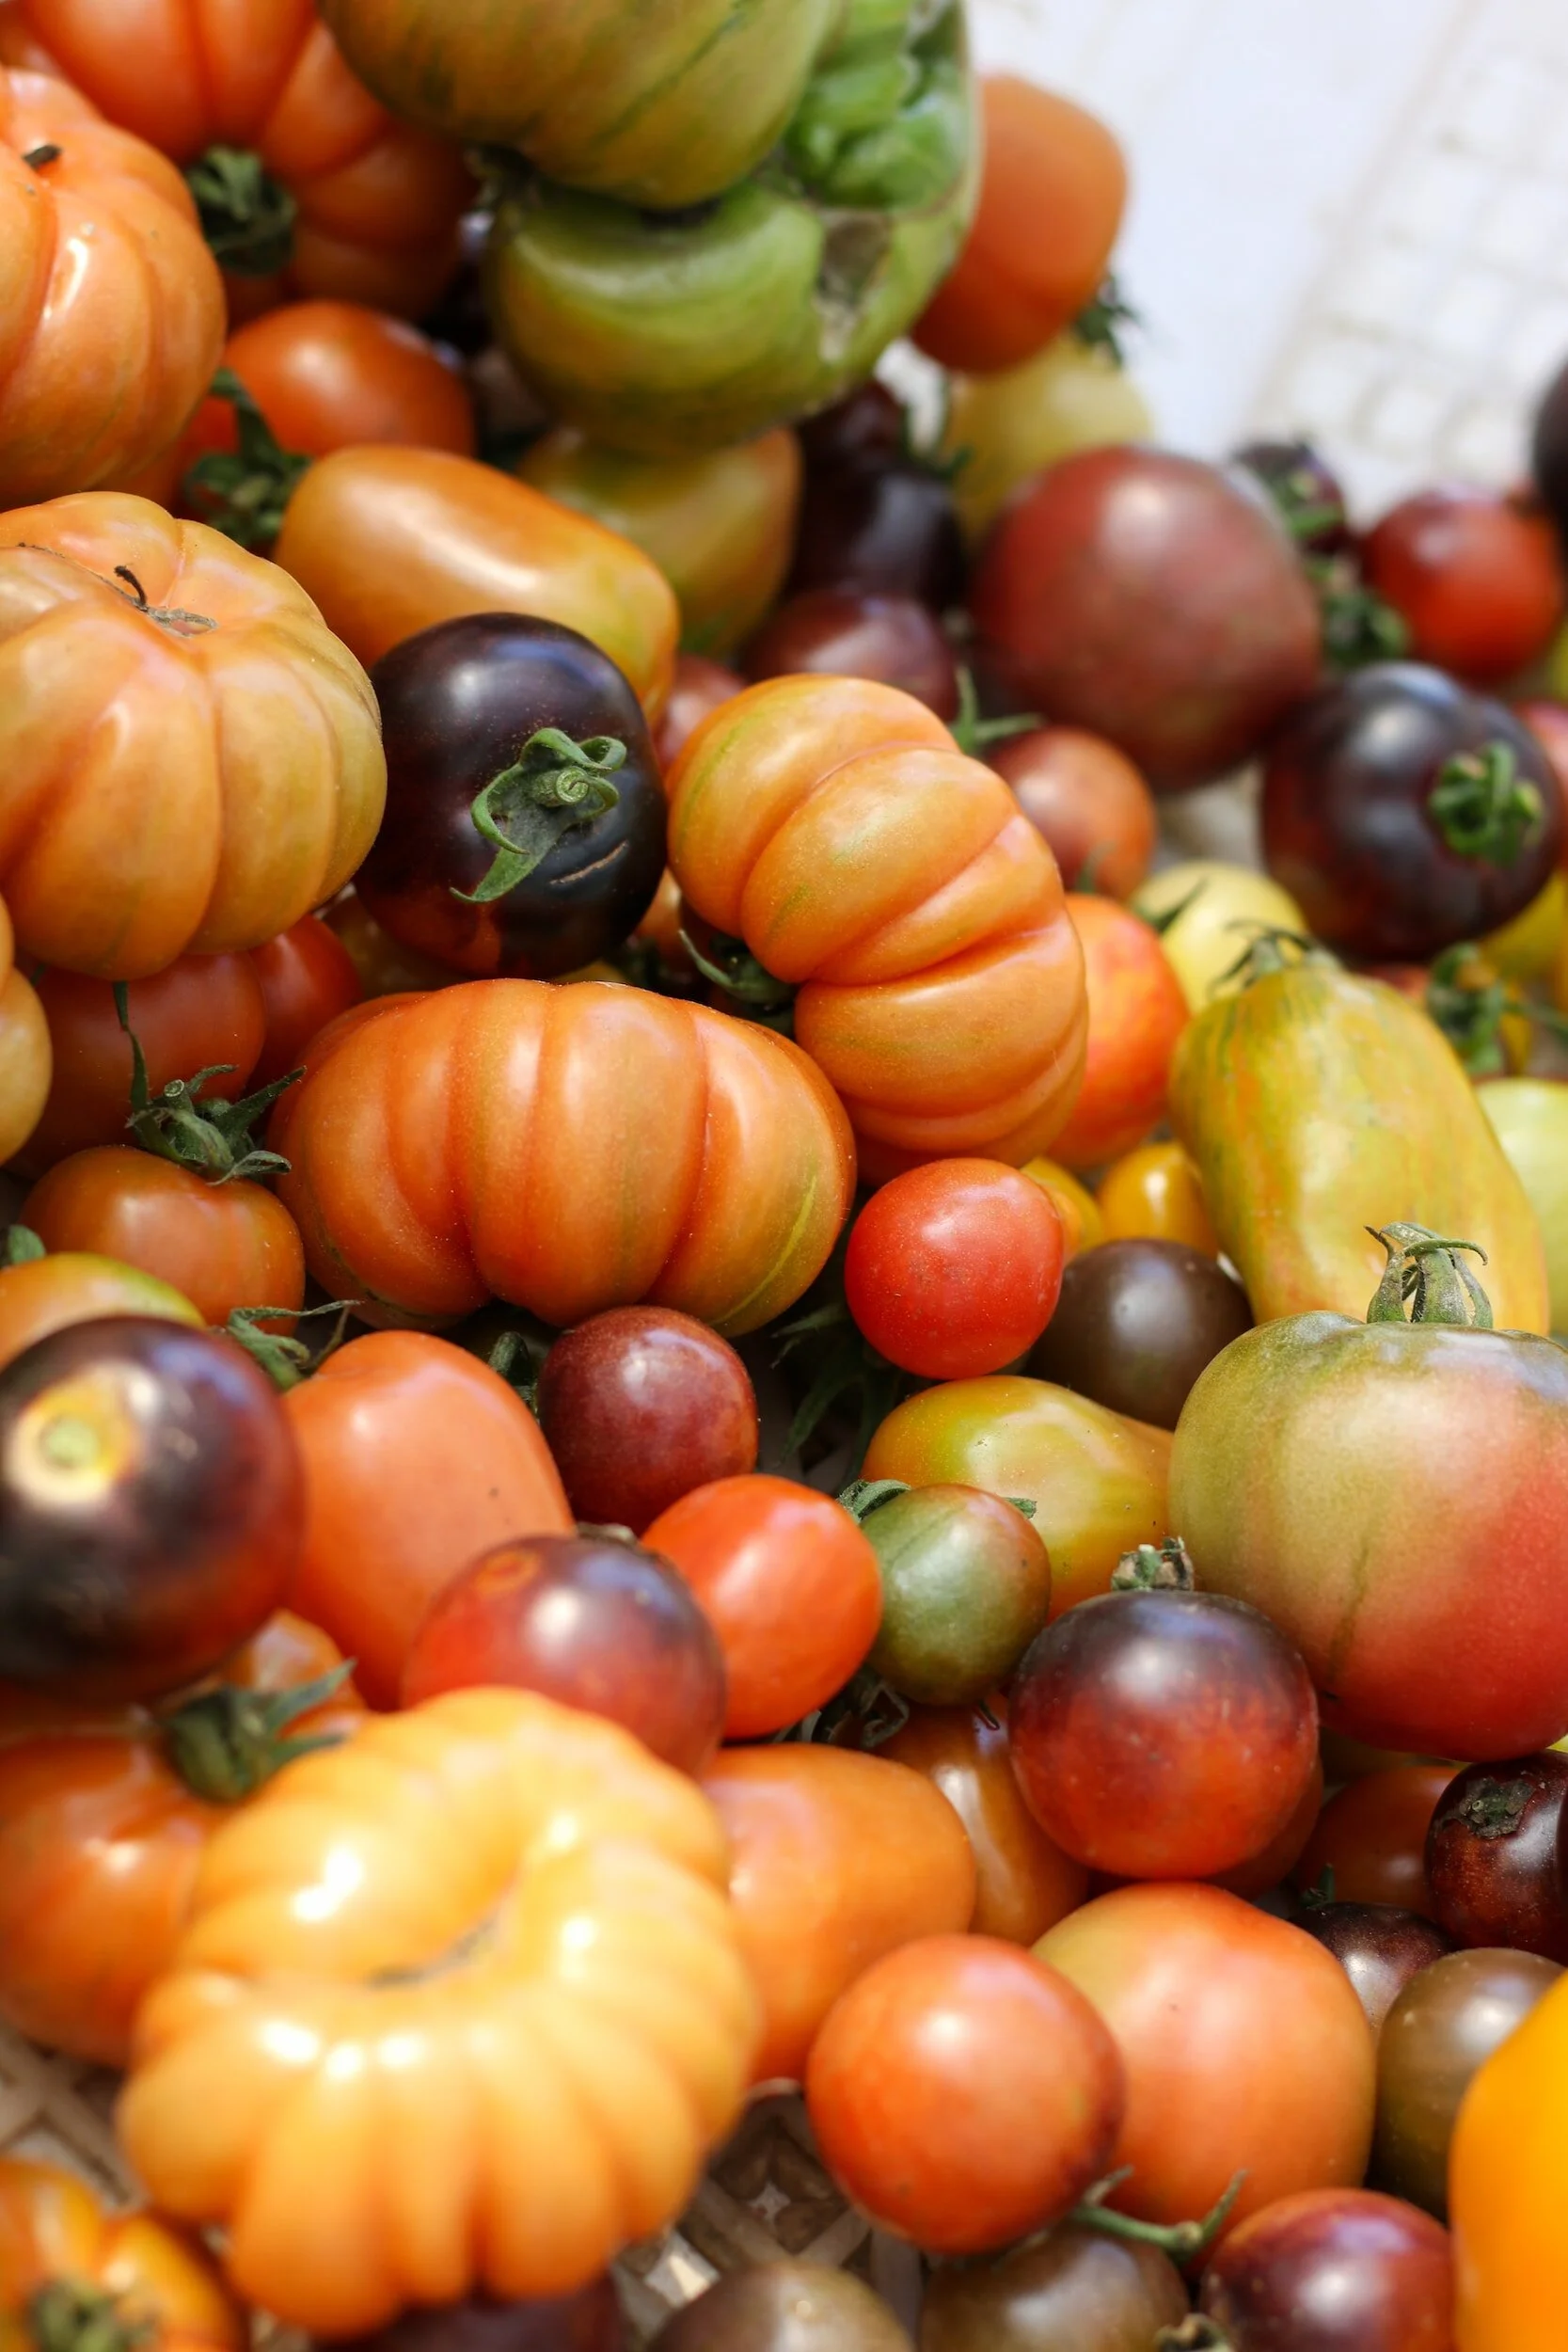
Tomatoes (Varieties like 'Roma' and 'Cherokee Purple')
Capsicums and Chillies
Eggplants
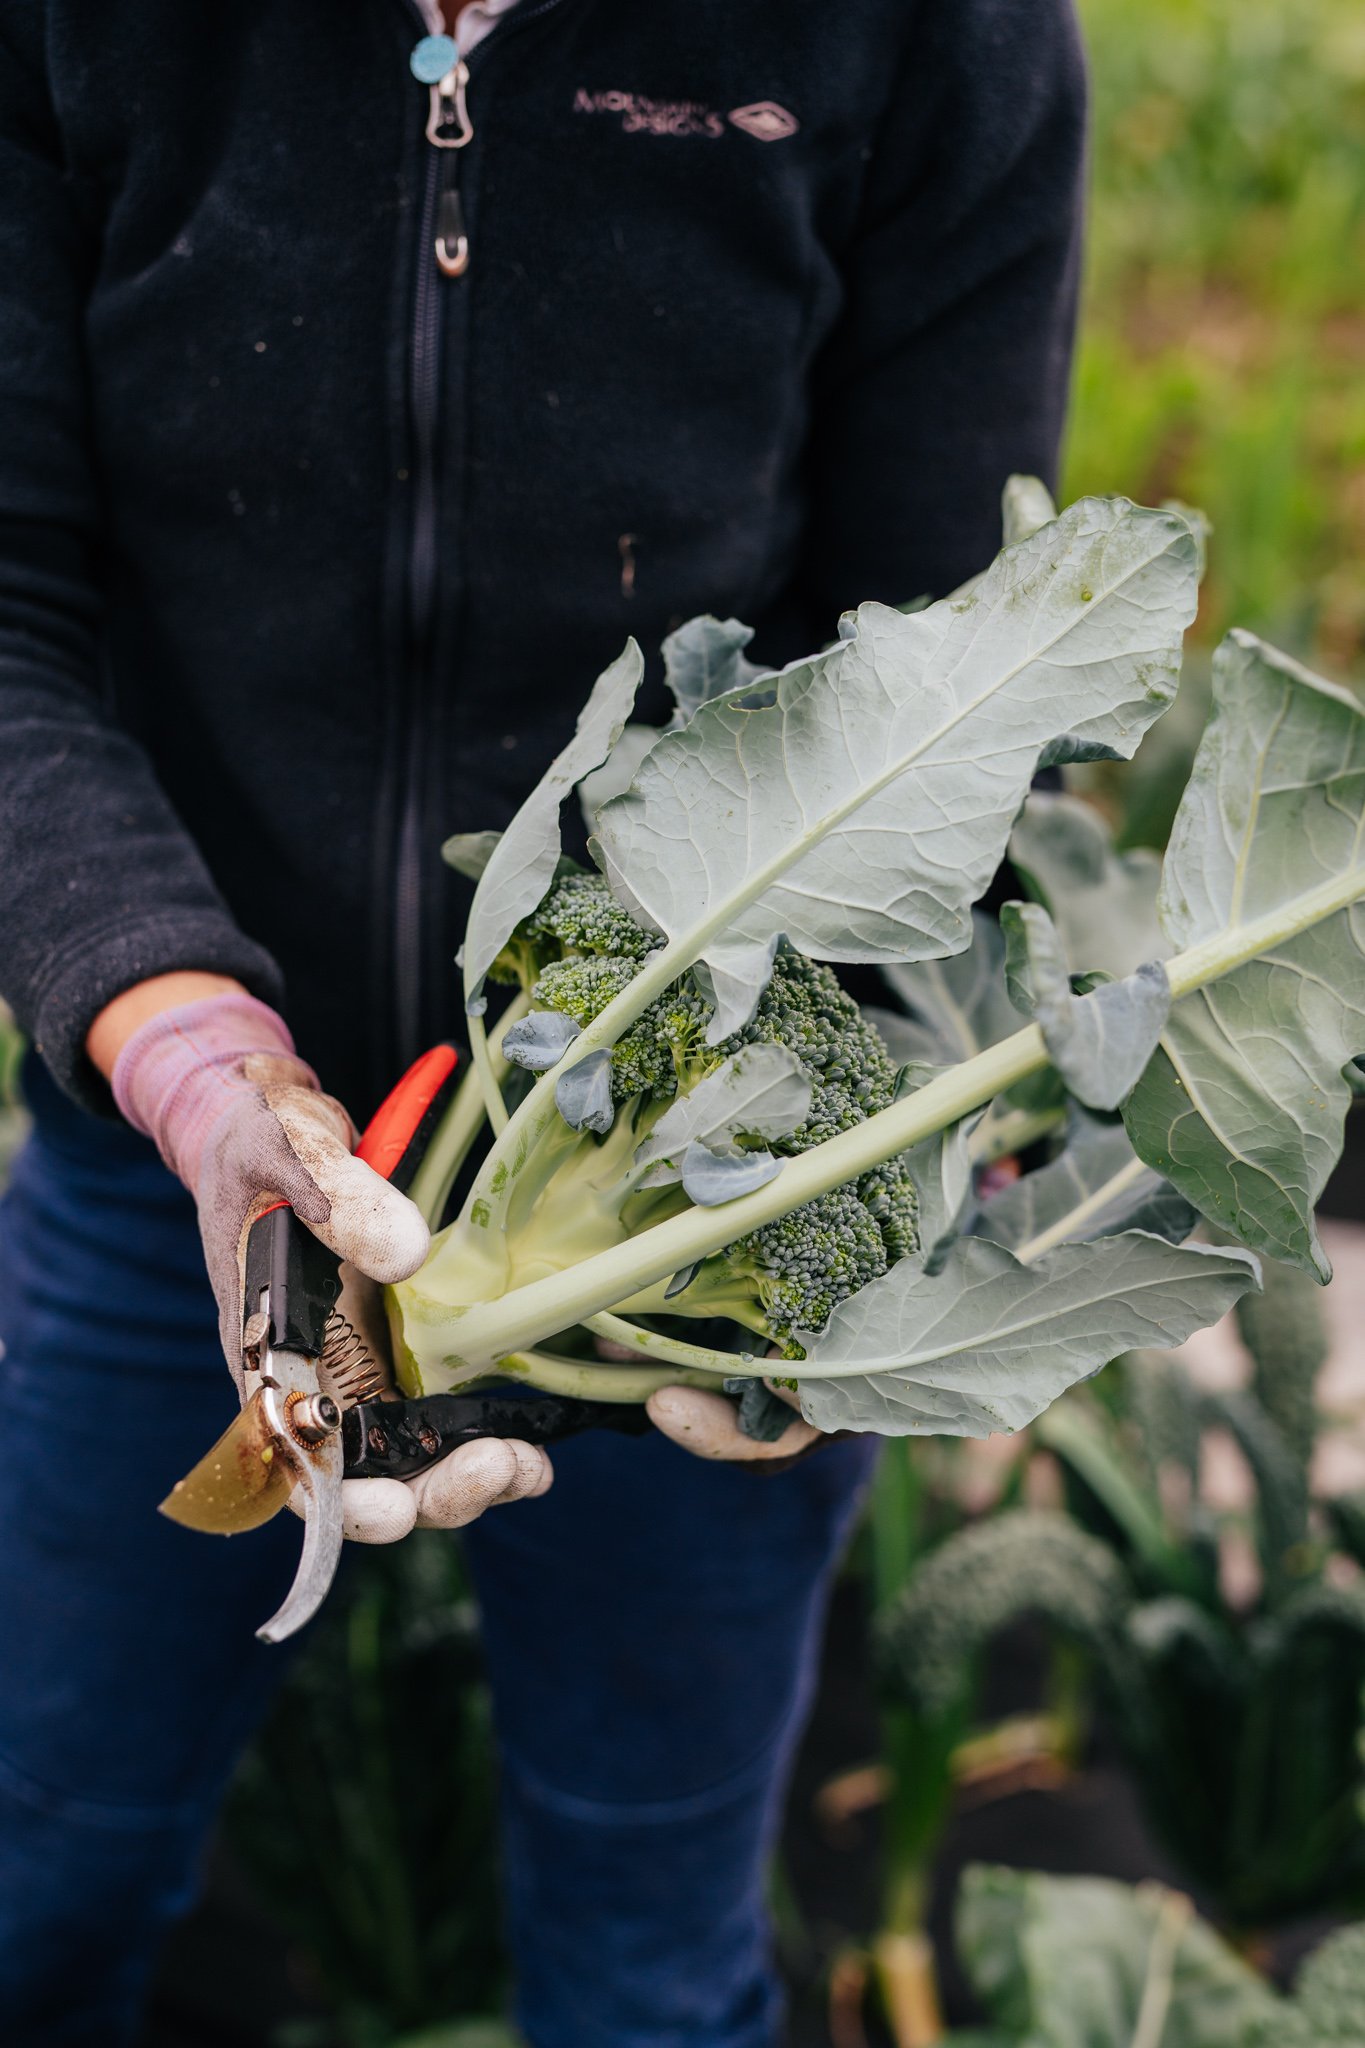
Broccoli
Cauliflower
Cabbage
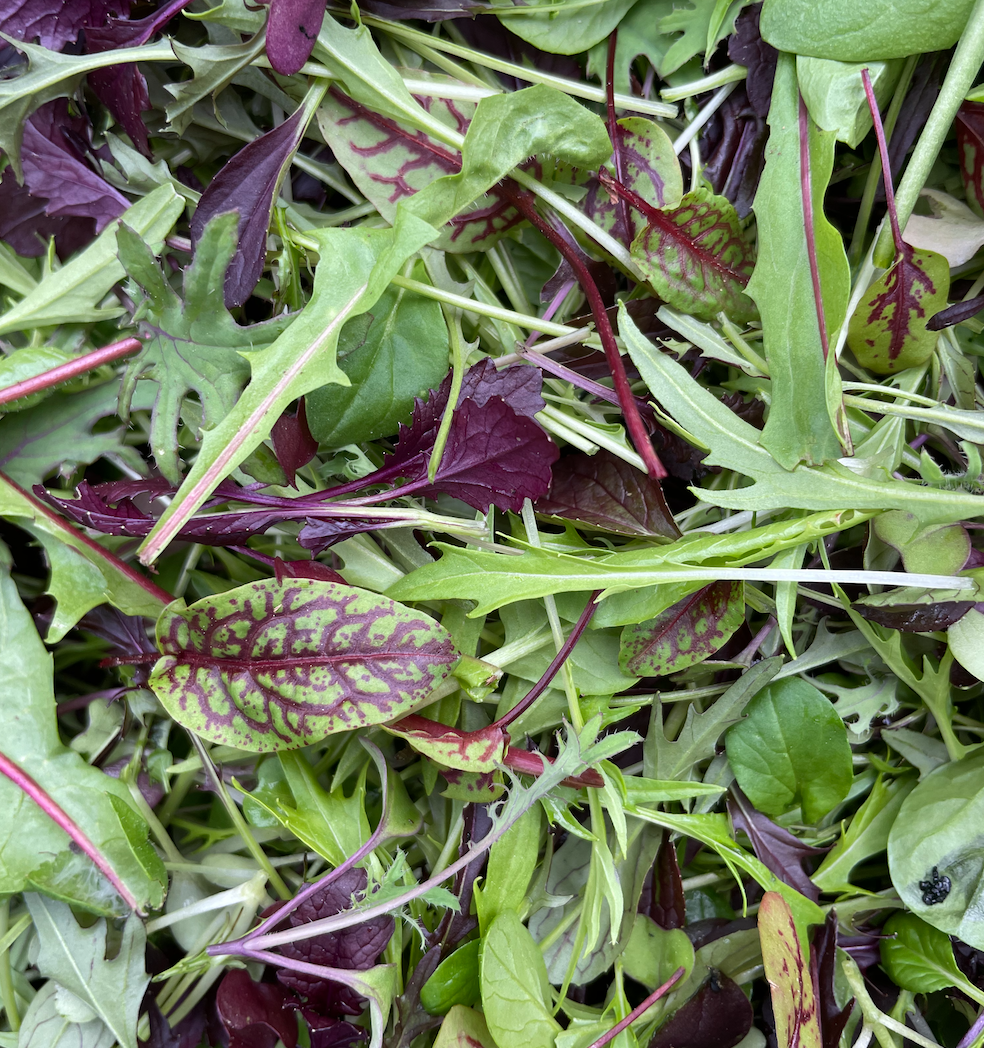
Lettuce (Leafy varieties)
English Spinach
Kale
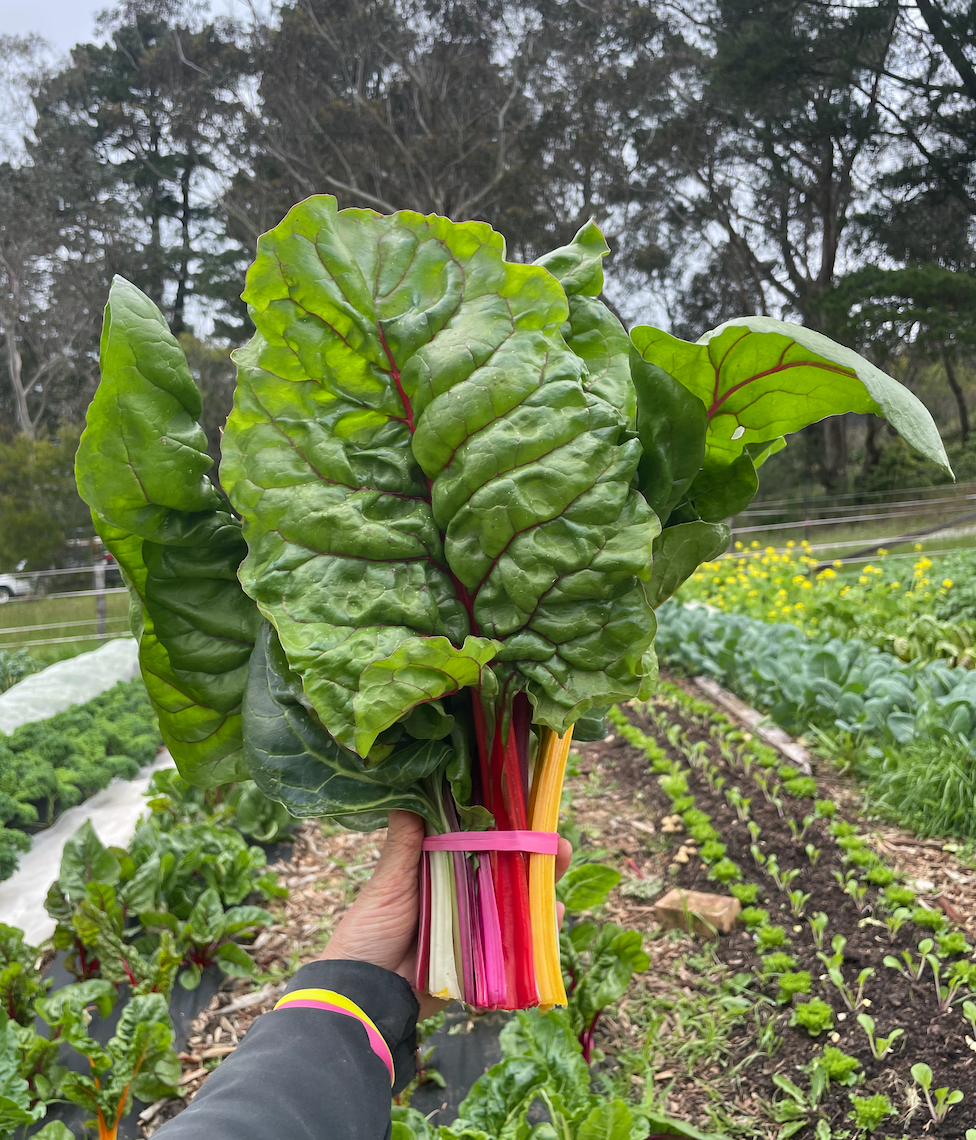
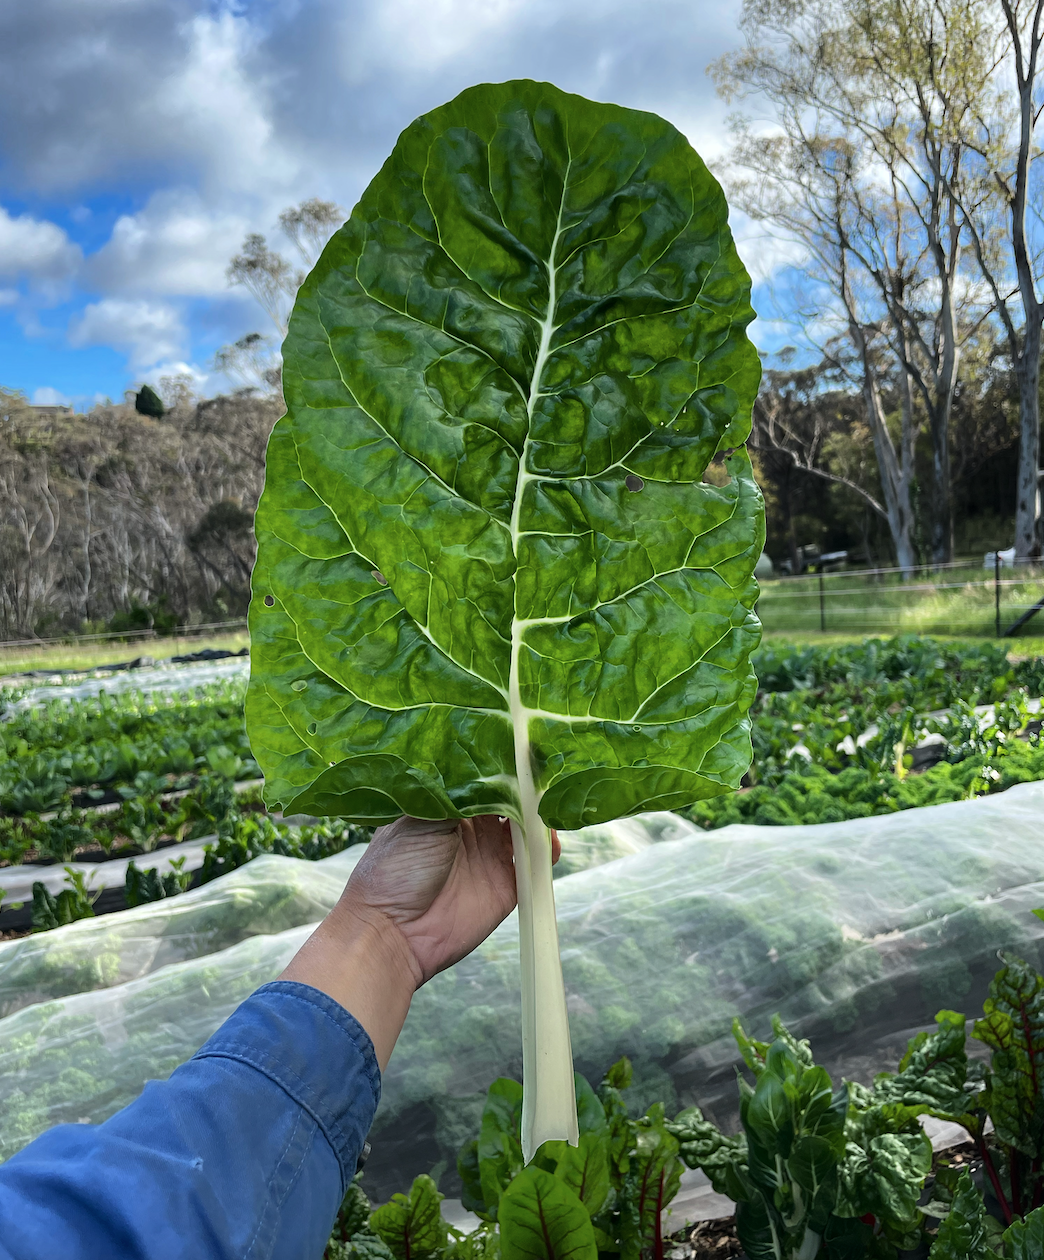
Chard and Silverbeet
Notes:
Choose ‘short season’ varieties to ensure you get a quicker crop!
Areas of the lower Blue Mountains may get too hot for broccoli, cabbage and kale over summer but its worth a try for Spring!
if you choose to grow capsicums and chillies, put them in the HOTTEST part of your garden to develop good flavour!
Always choose untreated seed! Insect and fungal treated seeds are harmful to the environment and insect populations.
I choose seeds from: The Diggers Club, Eden Seeds, Green Patch Organics, Green Harvest Organics and Organic Seeds Australia.
Materials You'll Need:
Gathering the necessary materials before you start will help ensure a successful seedling preparation process:
Seed trays or small pots
Seed starting mix or make your own!
Seeds (keep stored in cool dark place)
Watering can or spray bottle
Plant markers or labels
Sunny windowsill with adequate sunlight exposure (at least 5-6 hours direct sunlight)
Notes:
Choose organic and heirloom seed where possible
Seed that was grown locally will decrease seedling shock and will ensure the seed is good for your area!
Grow things that you will like to eat!
Step-by-Step Guide:
Choose the Right Containers: Select seed trays or small pots with drainage holes to prevent waterlogging. These containers should be clean and sterile to minimise the risk of disease.
Prepare the Seed Starting Mix: Fill your chosen containers with a quality seed starting mix, ensuring it's damp but not soggy. This mix provides the right nutrients and drainage for young seedlings. Do not add fertiliser to the mix as it could ‘burn’ the seed as it germinates.
Sow the Seeds: slightly compact the soil evenly to below the top of the container. Following the instructions on the seed packets, place the seeds at the appropriate distance. Gently apply more soil or a vermiculite onto of the seeds at the depth recommended by the packet.
Watering: Use a watering can or a spray bottle to moisten the soil gently. be careful not disturb the soil. Avoid overwatering, as it can lead to damping-off disease. Maintain consistent moisture throughout the germination period. Air movement is also good once the seedlings have emerged.
Create a Mini Greenhouse: Cover the containers with transparent plastic containers or seedling domes. This creates a humid an warm environment that promotes germination. Place the containers on the sunny windowsill.
Monitor and Rotate: Check the containers daily for signs of germination. As soon as the seedlings emerge, remove the plastic containers. Rotate the containers regularly to ensure even growth and prevent seedlings from leaning towards the light.
Provide Adequate Light: While a sunny windowsill is a great starting point, consider using a grow light if natural light is limited. Seedlings need 10-14 hours of light daily for healthy growth.
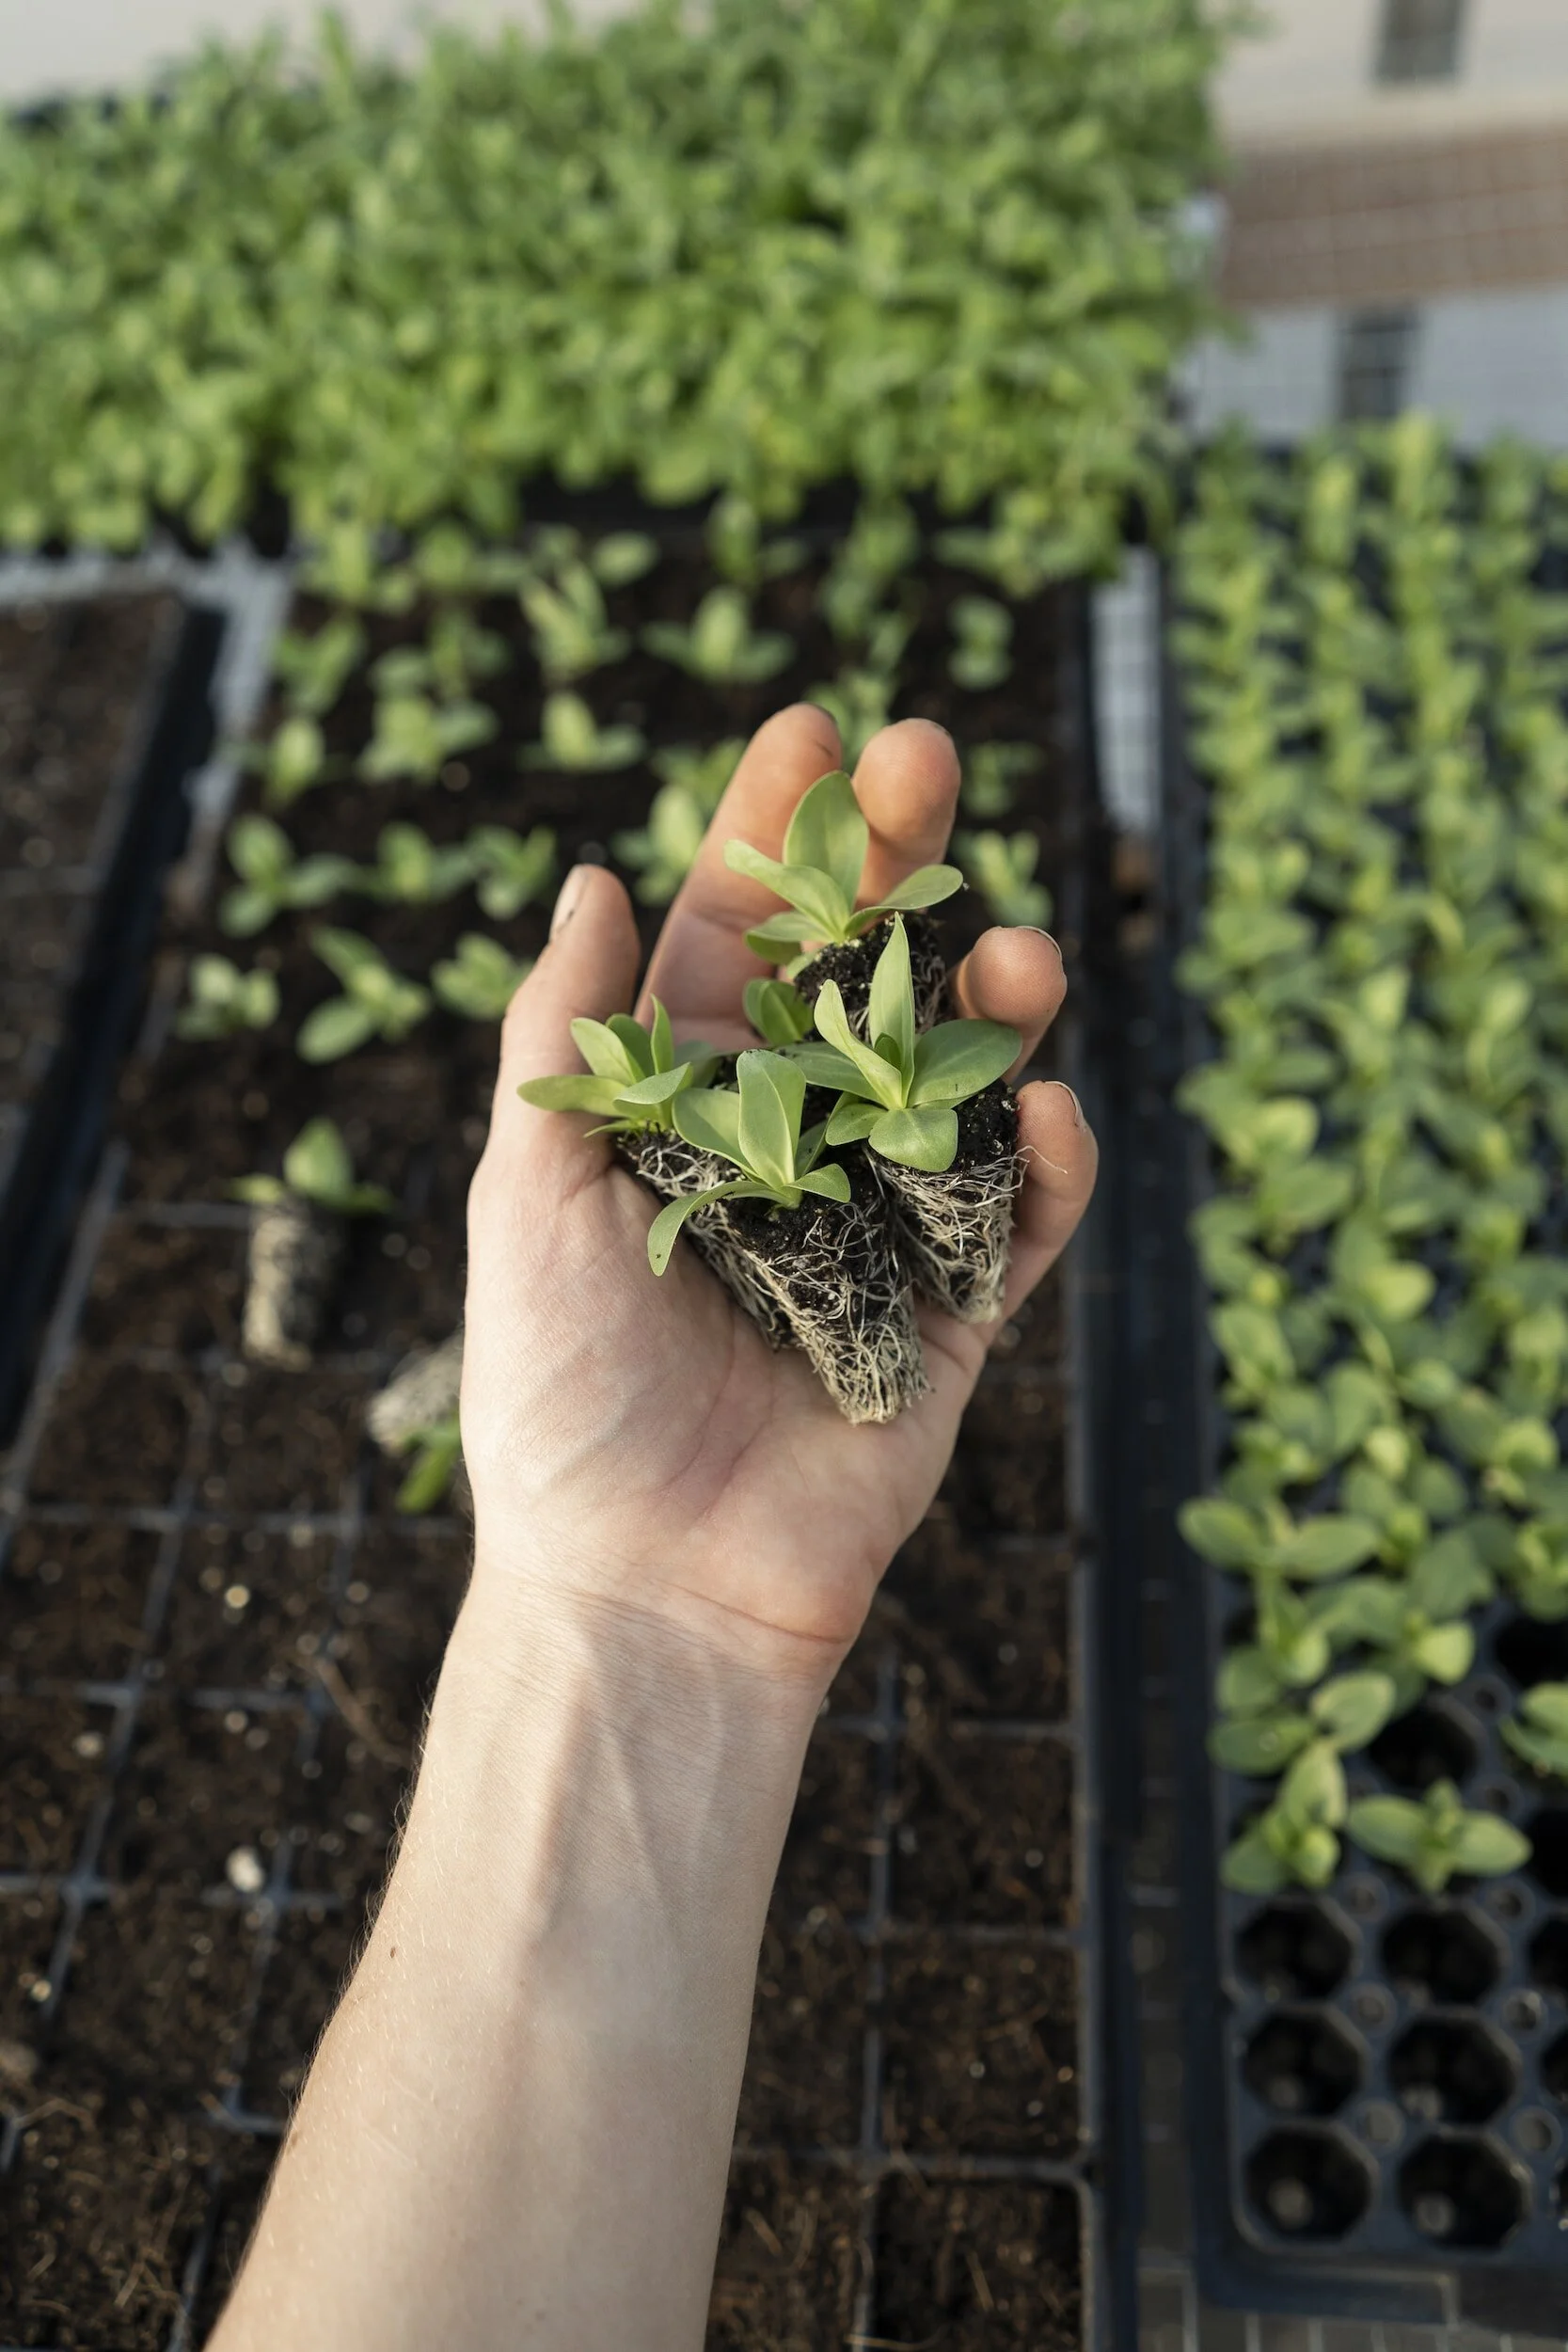
Thin and Transplant: Once the seedlings develop their first true leaves, thin them out if necessary to prevent overcrowding. Transplant them into larger pots if they outgrow their initial containers.
Harden Off: About a week before your intended planting date, gradually expose the seedlings to outdoor conditions. Start by placing them outside for a few hours each day, gradually increasing the time. This process, known as hardening off, helps the seedlings acclimate to the changes in temperature and sunlight.
Spring Planting: Once the last frost date has passed and the outdoor temperatures have become consistently mild, your seedlings are ready for their new home in the garden. Plant them in well-prepared soil following spacing recommendations for each type of plant.
Note:
If you are concerned about a late frost you can protect your seedlings with plastic containers over them!
With a little care and attention, preparing seedlings for spring planting in the Blue Mountains can be a rewarding experience. Starting seeds indoors during August allows you to get a head start on the gardening season, ensuring that your garden flourishes with a bountiful harvest of homegrown delights. As you watch your seedlings grow and thrive, you'll appreciate the effort you put into creating a vibrant and productive garden space.